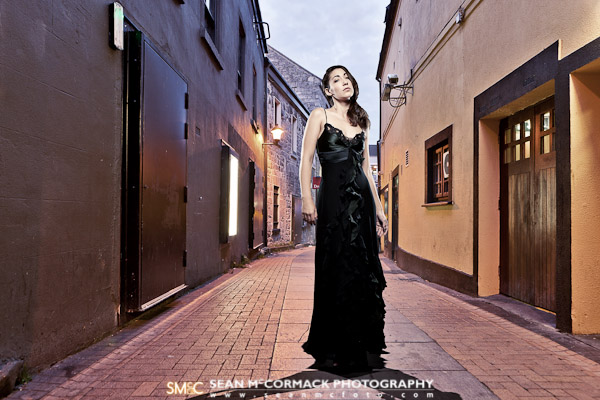
Madame Bink in Druid Lane
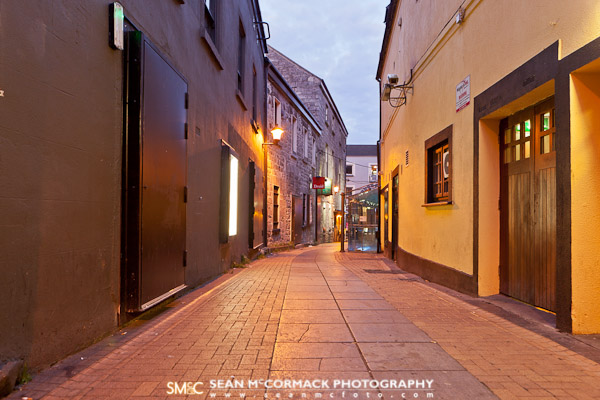
If you follow my website blog over at http://seanmcfoto.com/blog, you'll know I'm building up a portfolio of composite work. Obviously I make no claim at mastery yet, but I'm happy with the quality of the work. That said, I'm still working away at it. Here's a recent shot, and I'll talk through the making of. The first part of this to be shot was the background. I did a recent trip in Galway city centre to shoot loads of lanes and alleys, but with the light fading, and street lights coming on. The actual time window in which to get these is quite short, so I'm pleased to have 10 different lanes from that evening. Not all are useable, but I really only need one.
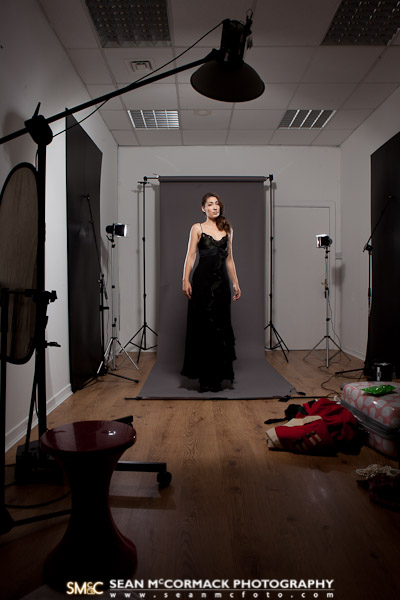
 I did a fair bit of cloning out of cigarette butts, and that was most of the work done on the background.I had model Madame Bink in studio a few days later, with the intention of shooting for composite. You can see my studio setup below.
 I shot on a 'Storm Grey' background from Creativity Backgrounds. It's probably slightly darker than I want, but still works fine. For the key light, I'm using a 44cm silver Elinchrom Beauty Dish on a BX400. I'm using the translucent deflector, rather than the more standard silver. I just like the look! For rimlights, I'm using 2 Portaflash 336's with barndoors (because I never sold them on, no other reason). Sometimes I need to add black wrap (cinefoil) to these to flag even more. You'll also notice, I've got 2 black sheets of aeroboard against the wall. This is to stop spill off the white walls to aid in better light control.For post processing, I began with the Quick Selection tool on Madame Bink in Photoshop CS5. I then used Refine Edge to get a better selection. I cleaned up the resulting mask using a number of different tricks, including brushing in Overlay mode and normal brushing. Using the Move tool, I dragged the layer with the mask to the tab for my background image. Holding the shift key, I released it to drop it in the centre of the background. The image is too large, so I used Free Transform and click the link icon on the H and W sections and entered 60%.The shadows were added by using a Drop Shadow layer style. I then used the Layer>Layer Style>Create Layer command to put this shadow on a new layer. I duplicated it twice, and used Distort and opacity to create 3 shadows that mimic'd the original lighting. The final look comes from processing the photo in onOne Software's Phototools.